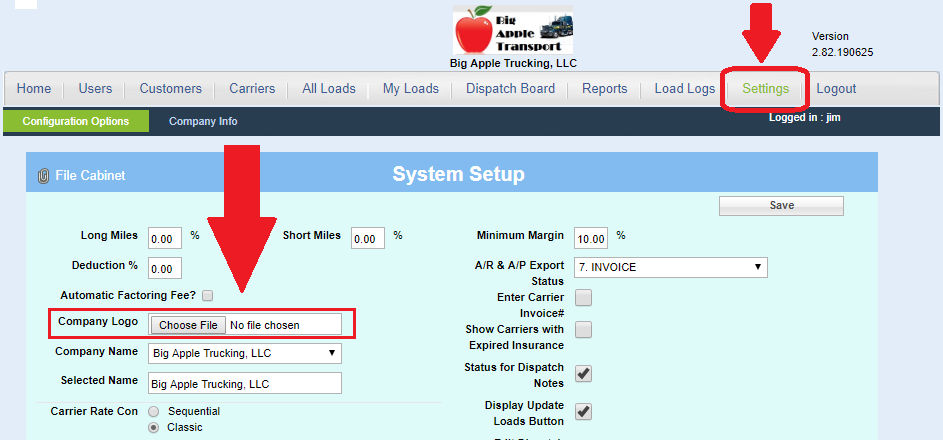
Load Manager can produce professional invoices, rate cons, BOLs, and many other forms. But in order for your logo to appear there, you must upload your logo to Load Manager. This is done in Settings. To get there, just click the Settings button on the menu.
From there, go to the Company Logo section and click Choose File. The system will accept any image file, but the preferred file type is a PNG file. Then, click the Save button on the top right. You should now see your logo at the top of your Load Manager site. At this point, you’re done! The next form you generate (invoice, rate con, etc. ) will include your logo at the top left.
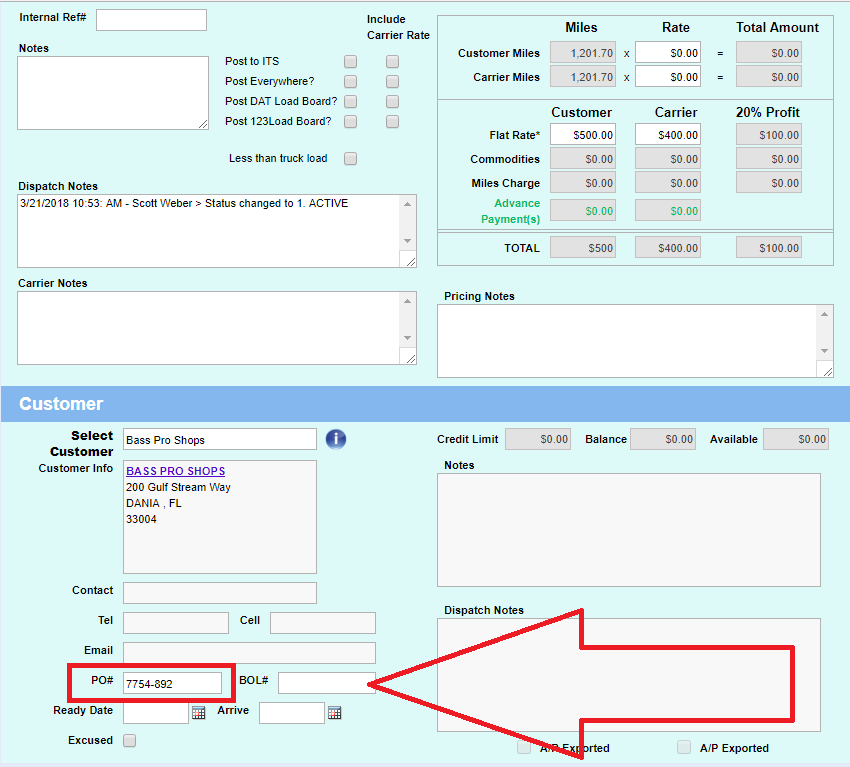
Sometimes you need a searchable number that is separate from your Load Number. We designed the PO Number with this in mind. To assign a PO Number to a Load:
Click “All Loads”.
Click on a Load.
Scroll down a bit to the area where the Customer is selected.
Enter your desired PO Number and Save.
This PO Number is searchable via the All Loads/ My Loads screen, and also via the Advanced Search feature.
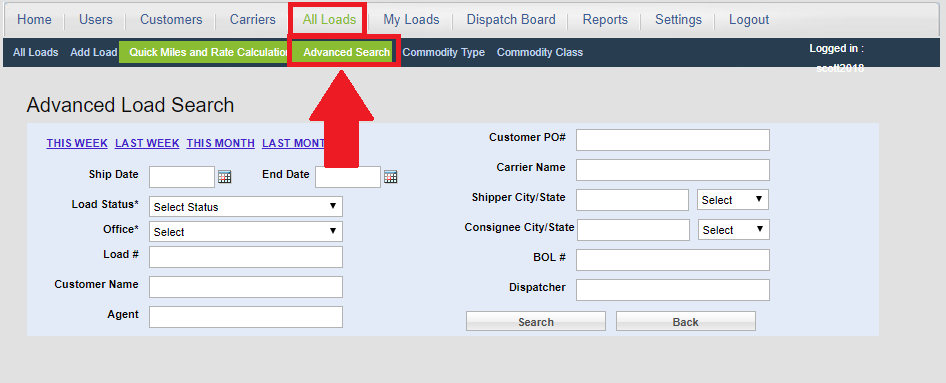
The Advanced Search feature allows you to narrow your search to certain fields. When you search All Loads/ My Loads, you are actually searching many different fields, including: Load #, PO, Status, Customer, BOL #, Carrier, City, State, Dispatcher and Ship Date. This is why searching a number like “33161” often yields more results than you’re expecting.
To access the Advanced Search feature, click All Loads, and click Advanced Search.
The “All Loads” screen will show all load statuses. “My Loads” will only show certain statuses. You can select which statuses you want to see under “My Loads” by editing your User.
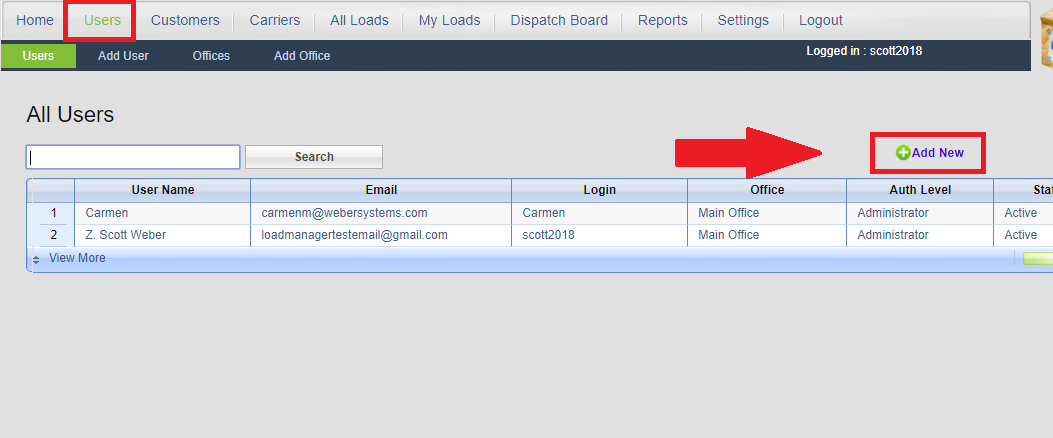
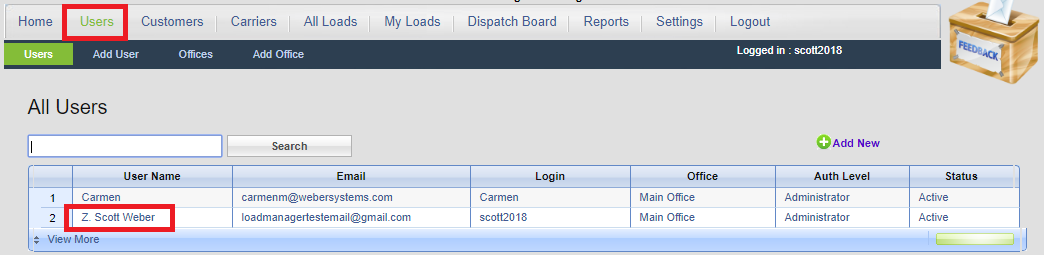
Click on Users
Click your Username
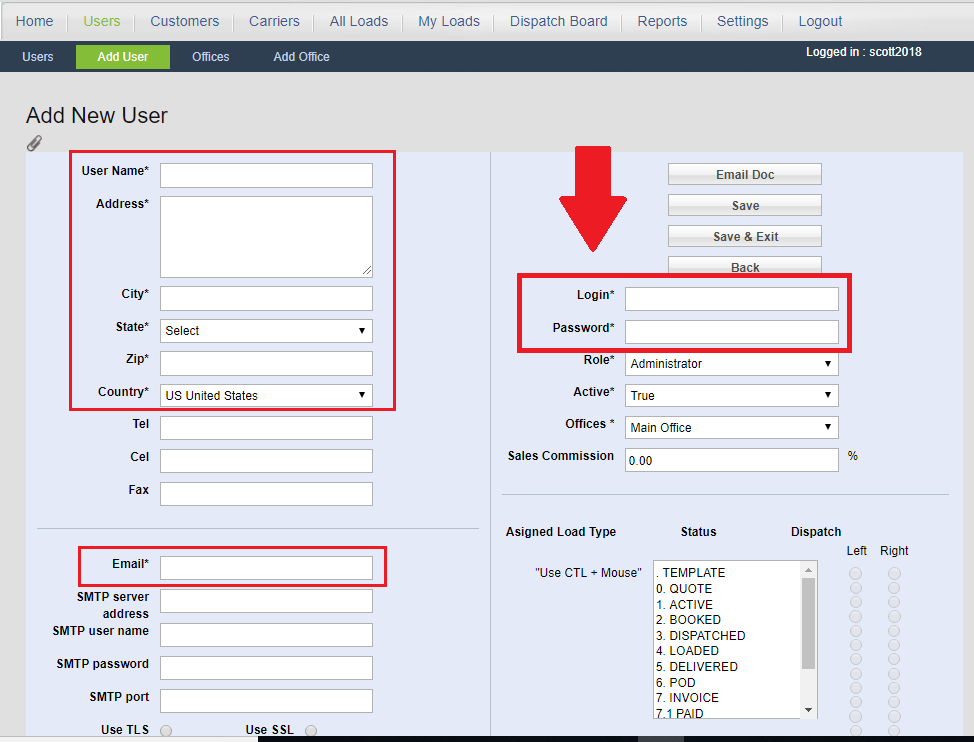
On the right hand side, there is an area “Assigned Load Type”
Hold down the “Ctrl” key on your keyboard, and click a status to select it, or deselect it. Highlight the statuses that you want to appear on “My Loads”
Click the “Customers” tab, and the “Add New” button.
Fields with a “*” are mandatory. If you’re in a rush, you can fill the space with a period.
The “Payer” field is important.
Payer=True designates them as paying customer. If Payer=False, they will not appear in the “Customers” area of the load screen, and they will be considered a Shipper or Consignee.
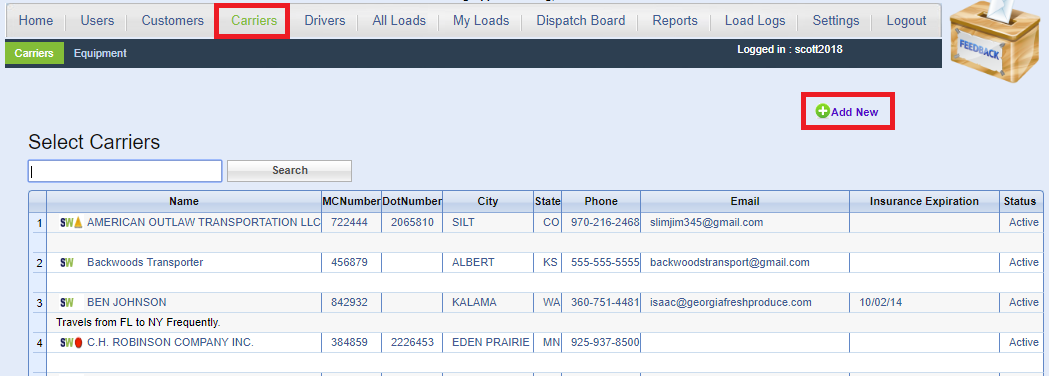
Load Manager TMS Software streamlines the process of adding Carriers. First, click the “Carriers” tab. Then, click the “Add New” button.
Enter the carrier’s DOT # and click Continue. Load Manager will auto-populate the carrier’s name, address, email, phone number, and many other relevant fields. Don’t forget to Save! You are now ready to assign this carrier to a load.
Tip: Load Manager also integrates with SaferWatch due-diligence software. SaferWatch can save you time and money by monitoring your Carrier’s insurance for you. SaferWatch will help you weed out unsafe carriers and streamline the onboarding process. http://www.saferwatch.com
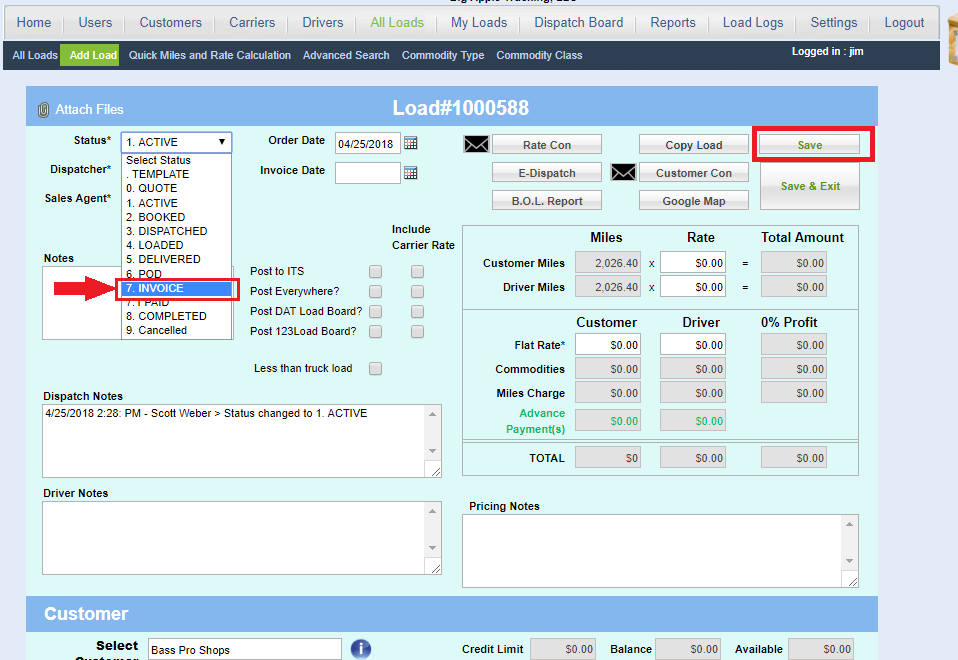
The time has come for you to be paid. In order to generate and send an Invoice, the load must have a status of “Invoice”.
Select the “Invoice” status from the drop-down menu, and Save.
You will see that the “Customer Con” button has now turned into the “Invoice” button.
You can click the Invoice button to view and download you Invoice.
You may also use the envelope symbol to email the Invoice to the Customer.
Tip: Your email must be set up before you can email documents directly through Load Manager. For help with email setup, please check out our Email Setup article.
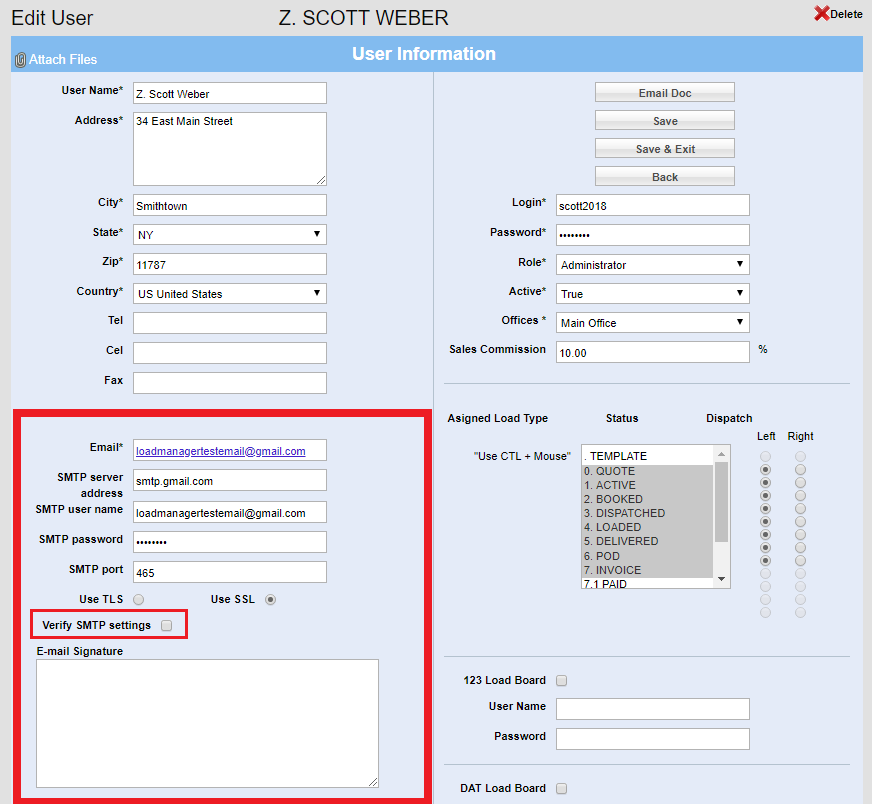
Load Manager has powerful email tools that allow you to email Rate Cons, Invoices, and other documents with just a few clicks. You must go through the one-time setup procedure before you can use these tools. To setup your email:
Click Users
Click on your Username
These fields on the left, starting with Email*, must be filled out.
Email* – your email address.
STMP Server address – the server your email uses to send email. There is a list below of common SMTP servers for common email providers. This can also be found using a simple google search. Example: “what are Gmail STMP settings?” A search like this should give you your SMTP server address and your SMTP port.
SMTP user name – your email address.
SMTP password – this is the password to your email address, as if you were trying to log in to your email.
SMTP port – this is either 465 or 587 depending on your email provider.
Use TLS or use SSL – your email uses either TLS or SSL email protocol. You should be able to find the right choice with a Google search.
When you believe your settings are correct, you can click the “Verify SMTP settings” checkbox, and Save. Load Manager will give you a message telling you if your settings are valid or not. If they are valid, you are ready to email through Load Manager!
Common SMTP Settings:
Office 365
Smtp.office365.com
Port: 587
TLS
Gmail
smtp.gmail.com
465
SSL
Gmail also requires that you change two settings. Please follow the links below to change the settings:
If Google says “This setting is managed by the administrator”, that means you’re part of GSuite. Please refer to the GSuite section below.
GSuite
Gmail and Gsuite have the same SMTP settings, however only administrators have access to the necessary settings. You, the administrator, must give your subordinates access to the “Allow less secure apps” setting. To do this:
Log in to GSuite as the administrator
Security
Basic Settings
Go to settings for Less Secure Apps
“Allow users to manage their access to less secure apps”
Save
The other users associated with this GSuite account should now be able to change “Allow less secure apps” to the correct setting – On.
Yahoo business users must create a separate password for 3rd party apps (like Load Manager). Below is an article about that. Once you’ve created that password, please paste it into the “SMTP password” field in your User.
Zoho requires you to create a separate password for 3rd party apps (like Load Manager). Below is an article about that. Once you’ve created that password, please paste it into the “SMTP password” field in your User.